How to Make a Roblox Game Pass: Step-by-Step Guide
how to make a roblox game pass
Curious whether a quick setup can turn your ideas into real rewards players buy? how to make a roblox game pass lays out the exact clicks and choices you need, starting from the Create area on the website and ending with a purchasable item in your store.
In this short guide, you get clear, stepwise definitions of each action: select your title, open Passes, upload an image, name the item, Preview, Verify Upload, then Configure price and settings.
Expect practical notes on preparing images, testing ownership in-game, and common fixes when a pass fails to show. You’ll leave with a published, sellable product and simple checks to confirm purchases grant the perks you promised.
What a Game Pass Is and How It Helps You Monetize Your Roblox Game
Understanding the item and its role gives you control over player expectations and earnings.
A game pass is a one-time purchase that gives users permanent perks. These perks can be VIP access, booster multipliers, or cosmetic bundles. Each should be clear and valuable so players feel the purchase was worth it.
Before you create a pass, confirm three prerequisites.
- You have an account in good standing.
- Your experience is published and visible.
- You prepared a square image that represents the perk.
Use concise naming and descriptions so buyers immediately know the benefit. Upload the pass inside the Create flow where your experience assets live. Follow Roblox rules for content and sizing—512×512 or 1024×1024 works best for crisp results.
| Checklist | Why it matters | Quick action |
| Account | Needed for publishing and sales | Verify email and status |
| Published experience | Pass must link to an active place | Confirm game is public |
| Final image | Represents the perk and reduces refunds | Upload 512×512 or 1024×1024 |
| Testing plan | Ensures benefits apply after purchase | Run a test purchase and verify |
Plan the perk so it suits your in-game economy. Offer utility rather than unbalanced power spikes. Clear definitions reduce refund requests and improve conversion on posts or discussion threads like reddit rereddit.
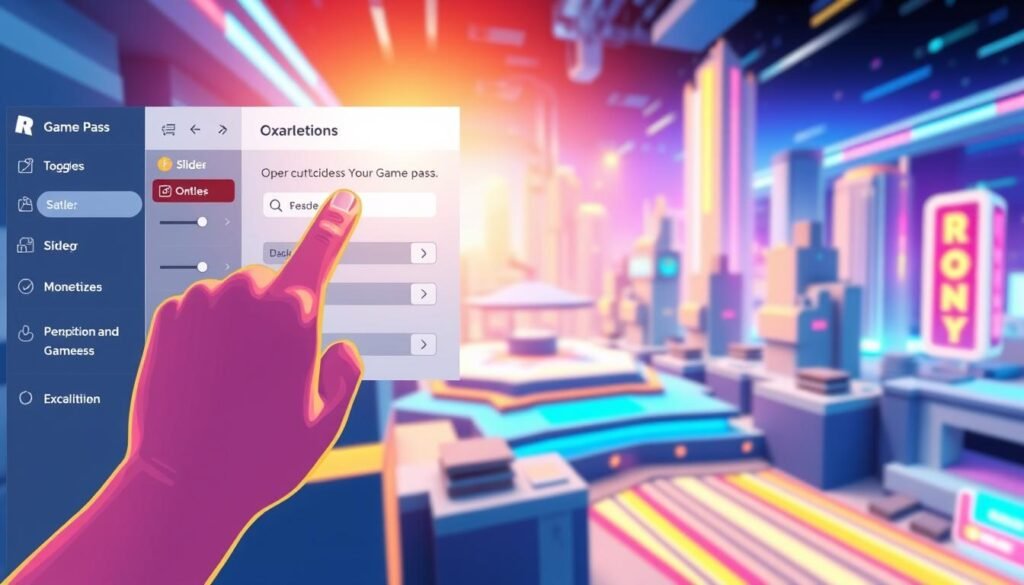
How to make a roblox game pass on the Roblox website today
Follow these clear, numbered steps on the Roblox website to publish a store item for your experience.
- Open Create on the website, then choose Creations. Select the experience where you want to add the item so it attaches correctly.
- Select game from your list and open its details page. Confirm this is the game you want add the pass to before continuing.
- Click the Passes tab, then choose Create in the create tab flow to start a new item record linked to that place.
- Upload your final image, enter a clear name, and write a benefit-focused description. These elements help buyers decide quickly in the store tab.
- Click Preview to check appearance, then hit Verify Upload to register the pass and move it into your game’s inventory.
- Click the gear icon next to the new item and choose Configure. Enable “For Sale,” set a Robux price, and adjust availability as needed.
- Save settings so the pass appears for sale on your experience page. Revisit the Passes tab anytime to update image, price, or description.
Pro tip: If your scripts grant perks, verify ownership with PlayerOwnsAsset or the current ownership API so benefits apply immediately after purchase.
Set pricing, test purchases, and fix common issues before you share
Price strategy, test buys, and fast fixes will protect revenue and player trust.
Choosing a price that fits your audience and perks
Base price on perceived value. Starter perks often sit at 25–100 Robux, utility boosts at 100–400, and premium bundles higher. Watch your analytics and adjust after you see conversion and session length.
Testing in-game: verify the pass grants benefits after purchase
Use Studio and a secondary account for purchase flow checks. Confirm scripts grant the perk right after a successful buy and that ownership persists on rejoin.
Log ownership checks near spawn and after key events. Server-side validation should grant perks, while client UI reflects the state so players see the benefit immediately.
Troubleshooting: pass not showing, image pending, or wrong game selected
If the item doesn’t appear in the store tab, confirm it is set “For Sale”, that you saved changes, and that you didn’t accidentally add pass assets to a different experience. Use the select game option again to verify placement.
| Problem | Quick fix | When to escalate |
| Not visible in store | Confirm For Sale, save, and reselect game | After verifying placement and reload |
| Image pending | Replace with a simple, compliant graphic and re-upload | If moderation stalls beyond 48 hours |
| Perk not granted | Check ownership API, server validation, and spawn logs | If server logs show ownership but client does not |
| Confused buyers | Update description with clear, specific benefits | After multiple refund requests or posts |
Pro tip: Track pricing edits and review top posts and community posts, including reddit rereddit threads, for common questions. Use feedback to remove friction in the first session and improve conversions.
Conclusion
Finish strong by reviewing the steps that get a purchasable item live and reliable. Open Create, choose Creations, select your experience, use the Passes tab, upload an image, name and describe the item, then Preview, Verify Upload, Configure, and save.
If you want add pass options later, keep perks balanced and priced for your audience. Duplicate your best format and refine offers based on analytics and player use.
Recheck the tab settings if something fails and test buys from a fresh account. Scan top posts and reddit rereddit threads for feedback that improves descriptions and lowers refunds.
Organize multiple items inside Creations so players browse upgrades easily. Quick review passes after each update keep pricing, visibility, and scripts working as you expand.
FAQ
What is a game pass and why should you add one?
A game pass is a paid item that grants players special perks or access inside your experience. It helps you monetize activity, reward loyal users, and fund ongoing updates. You control perks, pricing, and availability from your Creations section.
What prerequisites do you need before creating a pass?
You need a verified account, a published experience (the game), and a ready image for the pass. Ensure your image meets upload rules and that the experience is published so it appears in the Create > Creations list.
Where do you start on the website to add a pass?
Open the Create area on the Roblox website, then go to Creations. Find and select the experience you want, open the Passes tab, and choose Create to begin the upload and configuration process.
What information is required when creating the pass?
You must upload an image, enter a clear name, and write a concise description. Use an image that represents the perk and a description that explains in-game benefits so players know what they buy.
How do you upload and publish the pass?
After filling name and description, click Preview then Verify Upload to create the item. Next, open Configure (gear icon) to set price and availability, then save settings so the pass appears for sale in your experience.
How should you choose pricing for the pass?
Set a price that matches the perceived value and your audience’s spending habits. Consider tiers, limited-time offers, and comparison with similar creations. Test lower and higher price points to find the best balance.
How can you test purchases and in-game rewards?
Use a test account or Robux sandbox to buy the item and verify the perk activates. Confirm server-side checks grant features only to owners and that UI reflects ownership after purchase.
What common issues might block the pass from appearing?
Frequent problems include selecting the wrong experience, image pending moderation, not saving configuration, or publishing errors. Reopen Creations, confirm the pass is listed under Passes, and re-upload if moderation caused a delay.
How do you edit price, image, or description after creation?
Go to Create > Creations, select the experience, open Passes, click Configure on the pass, and update fields. Save changes; price updates take effect immediately for new buyers.
Are there moderation rules and asset guidelines you must follow?
Yes. Images and descriptions must follow community guidelines and copyright rules. Avoid offensive content and ensure you own the rights to used artwork. Moderation delays can affect availability.
What keywords should you include in your listing for discoverability?
Use clear terms related to perks, feature names, and the experience title. Include words like perks, VIP, access, cosmetics, and upgrade so players can find the pass within your experience and external discussions.


